Woodworking plans can look intimidating at first — full of measurements, symbols, and multiple views of the same object. But once you understand the language of plans, they become an invaluable guide that makes building faster, more accurate, and far less frustrating. This guide walks you through everything you need to understand to read any woodworking plan with confidence.
Understanding the Different Views
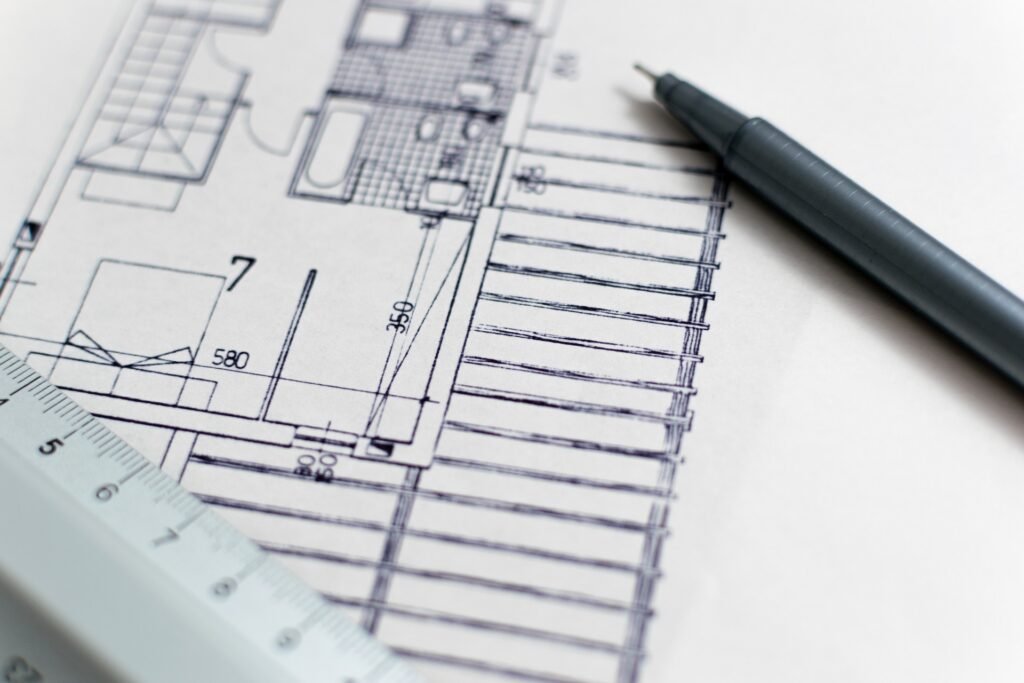
Most woodworking plans show your project from multiple angles: a front view, a side view, and a top view (looking down from above). Some plans also include a 3D perspective view to help you visualize the assembled piece. Always look at all views together before you start — details visible in one view often clarify questions raised by another.
Decoding the Dimensions
Dimensions on woodworking plans are almost always given as Width x Depth x Height and refer to finished dimensions — after the wood has been cut and planed to size. This is important because rough lumber is larger than its stated size. A 2×4 board, for example, actually measures 1.5 inches by 3.5 inches after finishing. Always check the plan’s cut list, which should specify the exact finished dimensions of every piece.
The Cut List: Your Shopping and Cutting Guide
The cut list is one of the most useful parts of any plan — it tells you exactly what pieces you need, in what dimensions and wood species. Use it to plan your lumber purchase and to mark up and cut your pieces systematically. Work through the cut list in order of size, cutting the largest pieces first to make the best use of your boards.
Understanding Joinery Symbols
Plans use standard symbols to indicate where joints are located and how pieces connect. Dotted lines typically indicate hidden edges or joinery you can’t see from the current view. Arrows indicate the direction of wood grain. Letters and numbers refer to specific parts in the cut list. If a plan uses symbols you don’t recognize, check for a legend — most good plans include one.
Tips for Reading Plans Successfully
Print plans out rather than reading them on a screen — you can annotate, highlight dimensions, and check off completed steps. Transfer measurements directly from the plan to the wood using a marking knife rather than a pencil for maximum accuracy. Build in the order the plan specifies — steps are usually sequenced for a reason. And if something doesn’t make sense, build a small mock-up from scrap wood before cutting your good lumber.
Every woodworking plan uses the same basic language. Once you’ve decoded your first plan successfully and seen how the finished piece matches every view and dimension, reading future plans becomes much faster. Trust the process, be systematic, and don’t hesitate to re-read sections until they click.