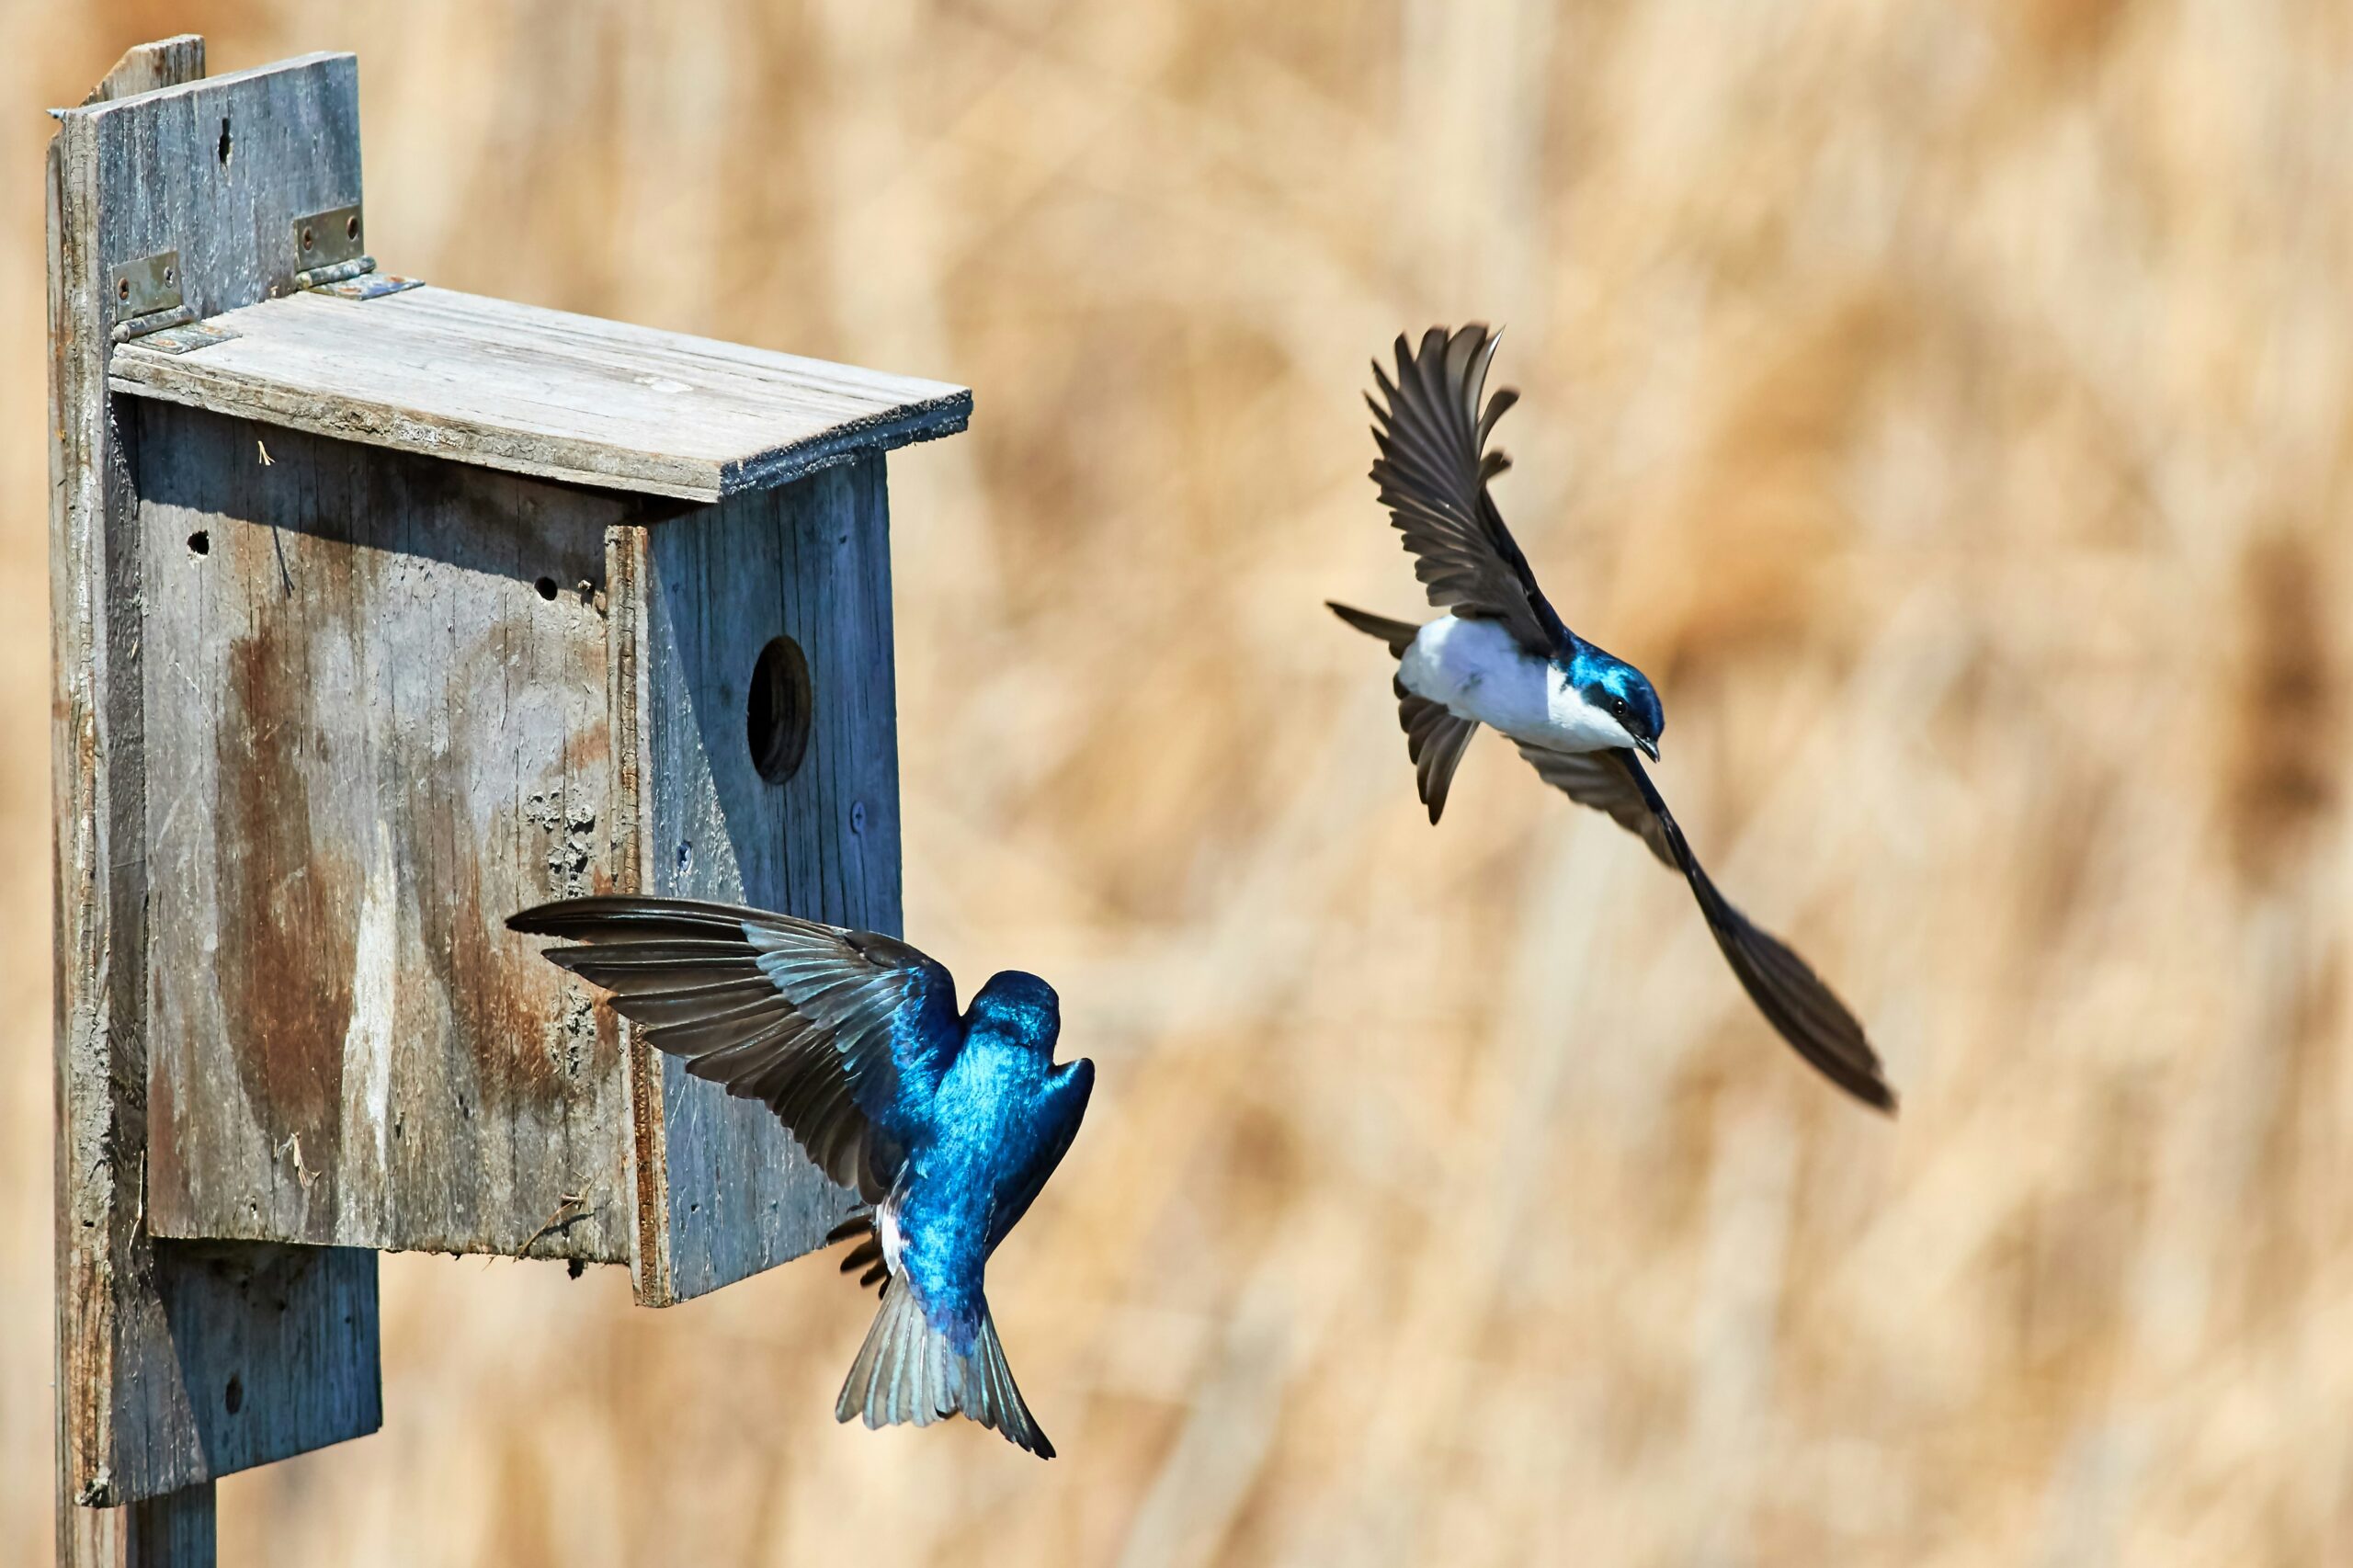
Building a birdhouse is one of the most beloved beginner woodworking projects — and for good reason. It’s achievable in a single afternoon, requires only basic tools and a small amount of wood, and produces a genuinely useful result that you can enjoy watching from your window or porch. Here’s a complete guide to building your first birdhouse.
Choosing Your Wood
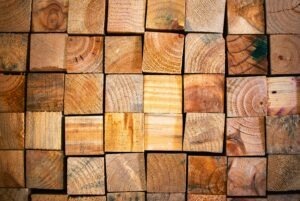
For a birdhouse that will survive outdoors, choose a naturally rot-resistant wood like cedar or redwood — both are widely available at hardware stores across the US. Avoid treated lumber, as the chemicals can harm birds. Use 3/4-inch boards for the walls and roof. Avoid MDF or particle board, which will quickly deteriorate when exposed to rain and moisture.
Getting the Dimensions Right
The most important dimension of a birdhouse is the entrance hole, which determines which species will use it. For chickadees and small songbirds, a 1-1/8 inch hole works well. For wrens, use a 1-1/4 inch hole. For bluebirds, go with a 1-1/2 inch hole. The interior floor should be approximately 4×4 inches, and the depth from the hole to the floor should be 6–8 inches. Research the birds common in your region and size accordingly.
Cutting the Pieces
A standard birdhouse requires six pieces: a front (with entrance hole), a back, two sides, a floor, and a roof (one sloped piece or two pieces forming a peak). Cut all pieces to size using a hand saw or circular saw. Drill the entrance hole with a hole saw or spade bit of the appropriate diameter before assembly. Sand all edges smooth so there are no splinters that could harm birds.
Assembly
Assemble using exterior wood glue and galvanized nails or screws — avoid regular steel fasteners that will rust and stain the wood. Build the box first: attach the sides to the front and back, then add the floor, set slightly in from the edges so water doesn’t pool. Drill a few small drainage holes in the floor as a precaution. Attach the roof last, ensuring it overhangs the front to keep rain away from the entrance hole.
Finishing and Installation
Apply a coat of exterior wood oil or water-based wood sealer to protect against the elements — never paint the inside of the box or directly around the entrance hole, as birds avoid strong chemical smells. Mount the birdhouse on a smooth pole at a height of 5–10 feet, facing away from prevailing wind and direct afternoon sun. Clean out the box each fall so it’s ready for the following breeding season.
A handmade birdhouse is a perfect gift, a beautiful garden feature, and a wonderful way to support local wildlife. Once you’ve built one, you’ll want to build several — experimenting with different designs and hole sizes for different species. It’s the kind of project that gets people hooked on woodworking for life.