A beautifully finished piece of wood can transform a simple project into something that looks genuinely professional. But finishing — the process of staining, sealing, and protecting wood — is also where many beginners make their most frustrating mistakes. This guide gives you the knowledge to achieve great results every time, starting with your very first project.
Why Finishing Matters
Wood finish serves two purposes: protection and aesthetics. Without a finish, wood absorbs moisture, stains easily, and will eventually crack, warp, or rot. A good finish seals the wood, makes it easier to clean, and can dramatically enhance the natural color and grain. For furniture and items that will be touched regularly, finishing is not optional — it’s what separates a lasting piece from one that deteriorates quickly.
Sanding: The Foundation of a Good Finish
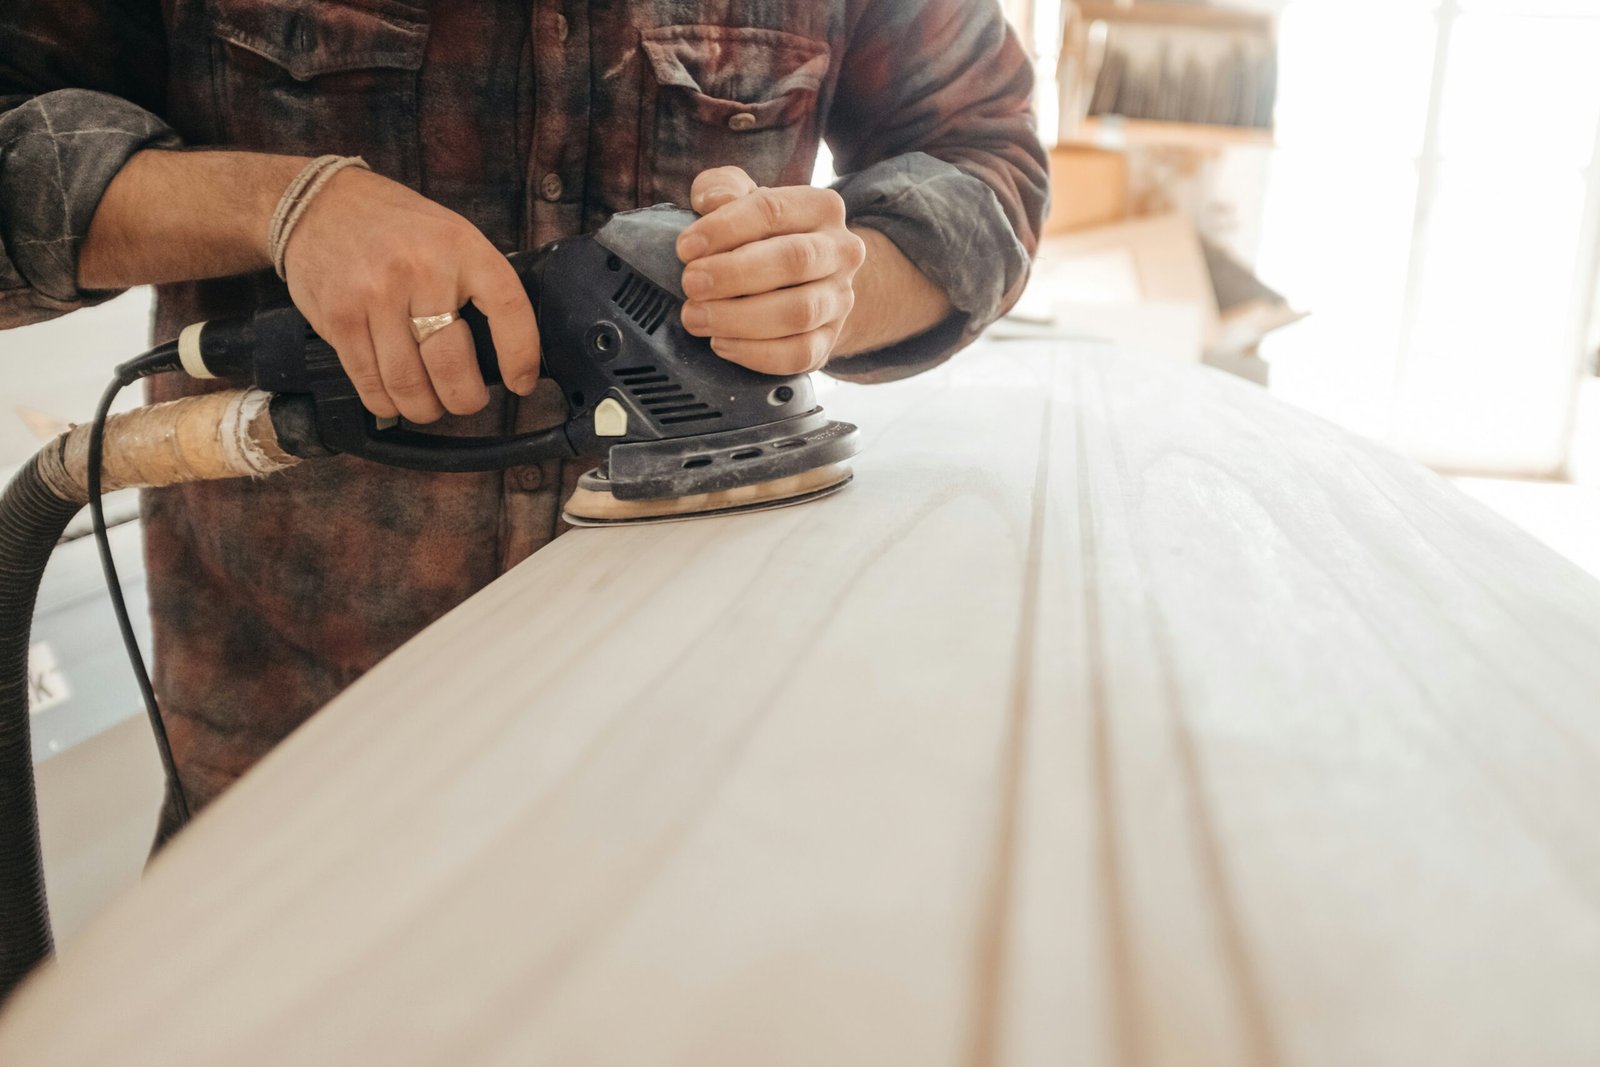
No finish can hide poor sanding — in fact, finish makes surface imperfections more visible. Always sand through progressive grits, starting at 80 or 100 for rough stock, progressing to 120, 150, and finishing at 180 or 220. Sand with the grain, not against it. After final sanding, wipe the surface with a tack cloth or slightly damp rag to remove all dust before applying any finish.
Choosing a Stain
Wood stain adds color while allowing the natural grain to show through. Oil-based stains penetrate deep and produce rich color, but take longer to dry. Water-based stains dry faster and clean up with soap and water, but the color can look slightly less rich. Gel stains are great for tricky woods like pine that tend to blotch, as they sit on the surface rather than soaking in. Always test your stain on an offcut of the same wood before applying to your finished piece.
Choosing a Topcoat
Once stain is dry, you need a topcoat to protect the surface. Polyurethane is the most durable option and is available in oil-based and water-based formulas — great for floors, tables, and anything that takes heavy use. Danish oil is simple to apply and produces a beautiful natural look, though it’s less protective than polyurethane. Wax gives a soft, natural sheen but requires more regular reapplication.
Application Tips for a Professional Result
Apply stain and finish in thin, even coats rather than thick ones — thick coats run, drip, and take much longer to cure. Apply with a foam brush, natural bristle brush, or lint-free cloth depending on the product. Lightly sand between coats with 320-grit sandpaper for a silky-smooth final result. Three thin coats will always outperform one thick coat. Work in a well-ventilated area and keep dust away while finishes cure.

Great finishing is as much about preparation and patience as it is about the products you use. Sand properly, test your stain, apply thin coats, and let everything cure fully. Follow these steps and your projects will look like they came from a professional furniture maker.