Restoring old furniture is one of the most satisfying projects a beginner can take on. You get to rescue a piece with history, develop a whole range of skills, and end up with something beautiful — often for a fraction of what new furniture costs. Whether you’ve found a bargain at a yard sale, inherited a family piece, or spotted something at a thrift store, this guide will show you how to restore it.
Assessing the Piece
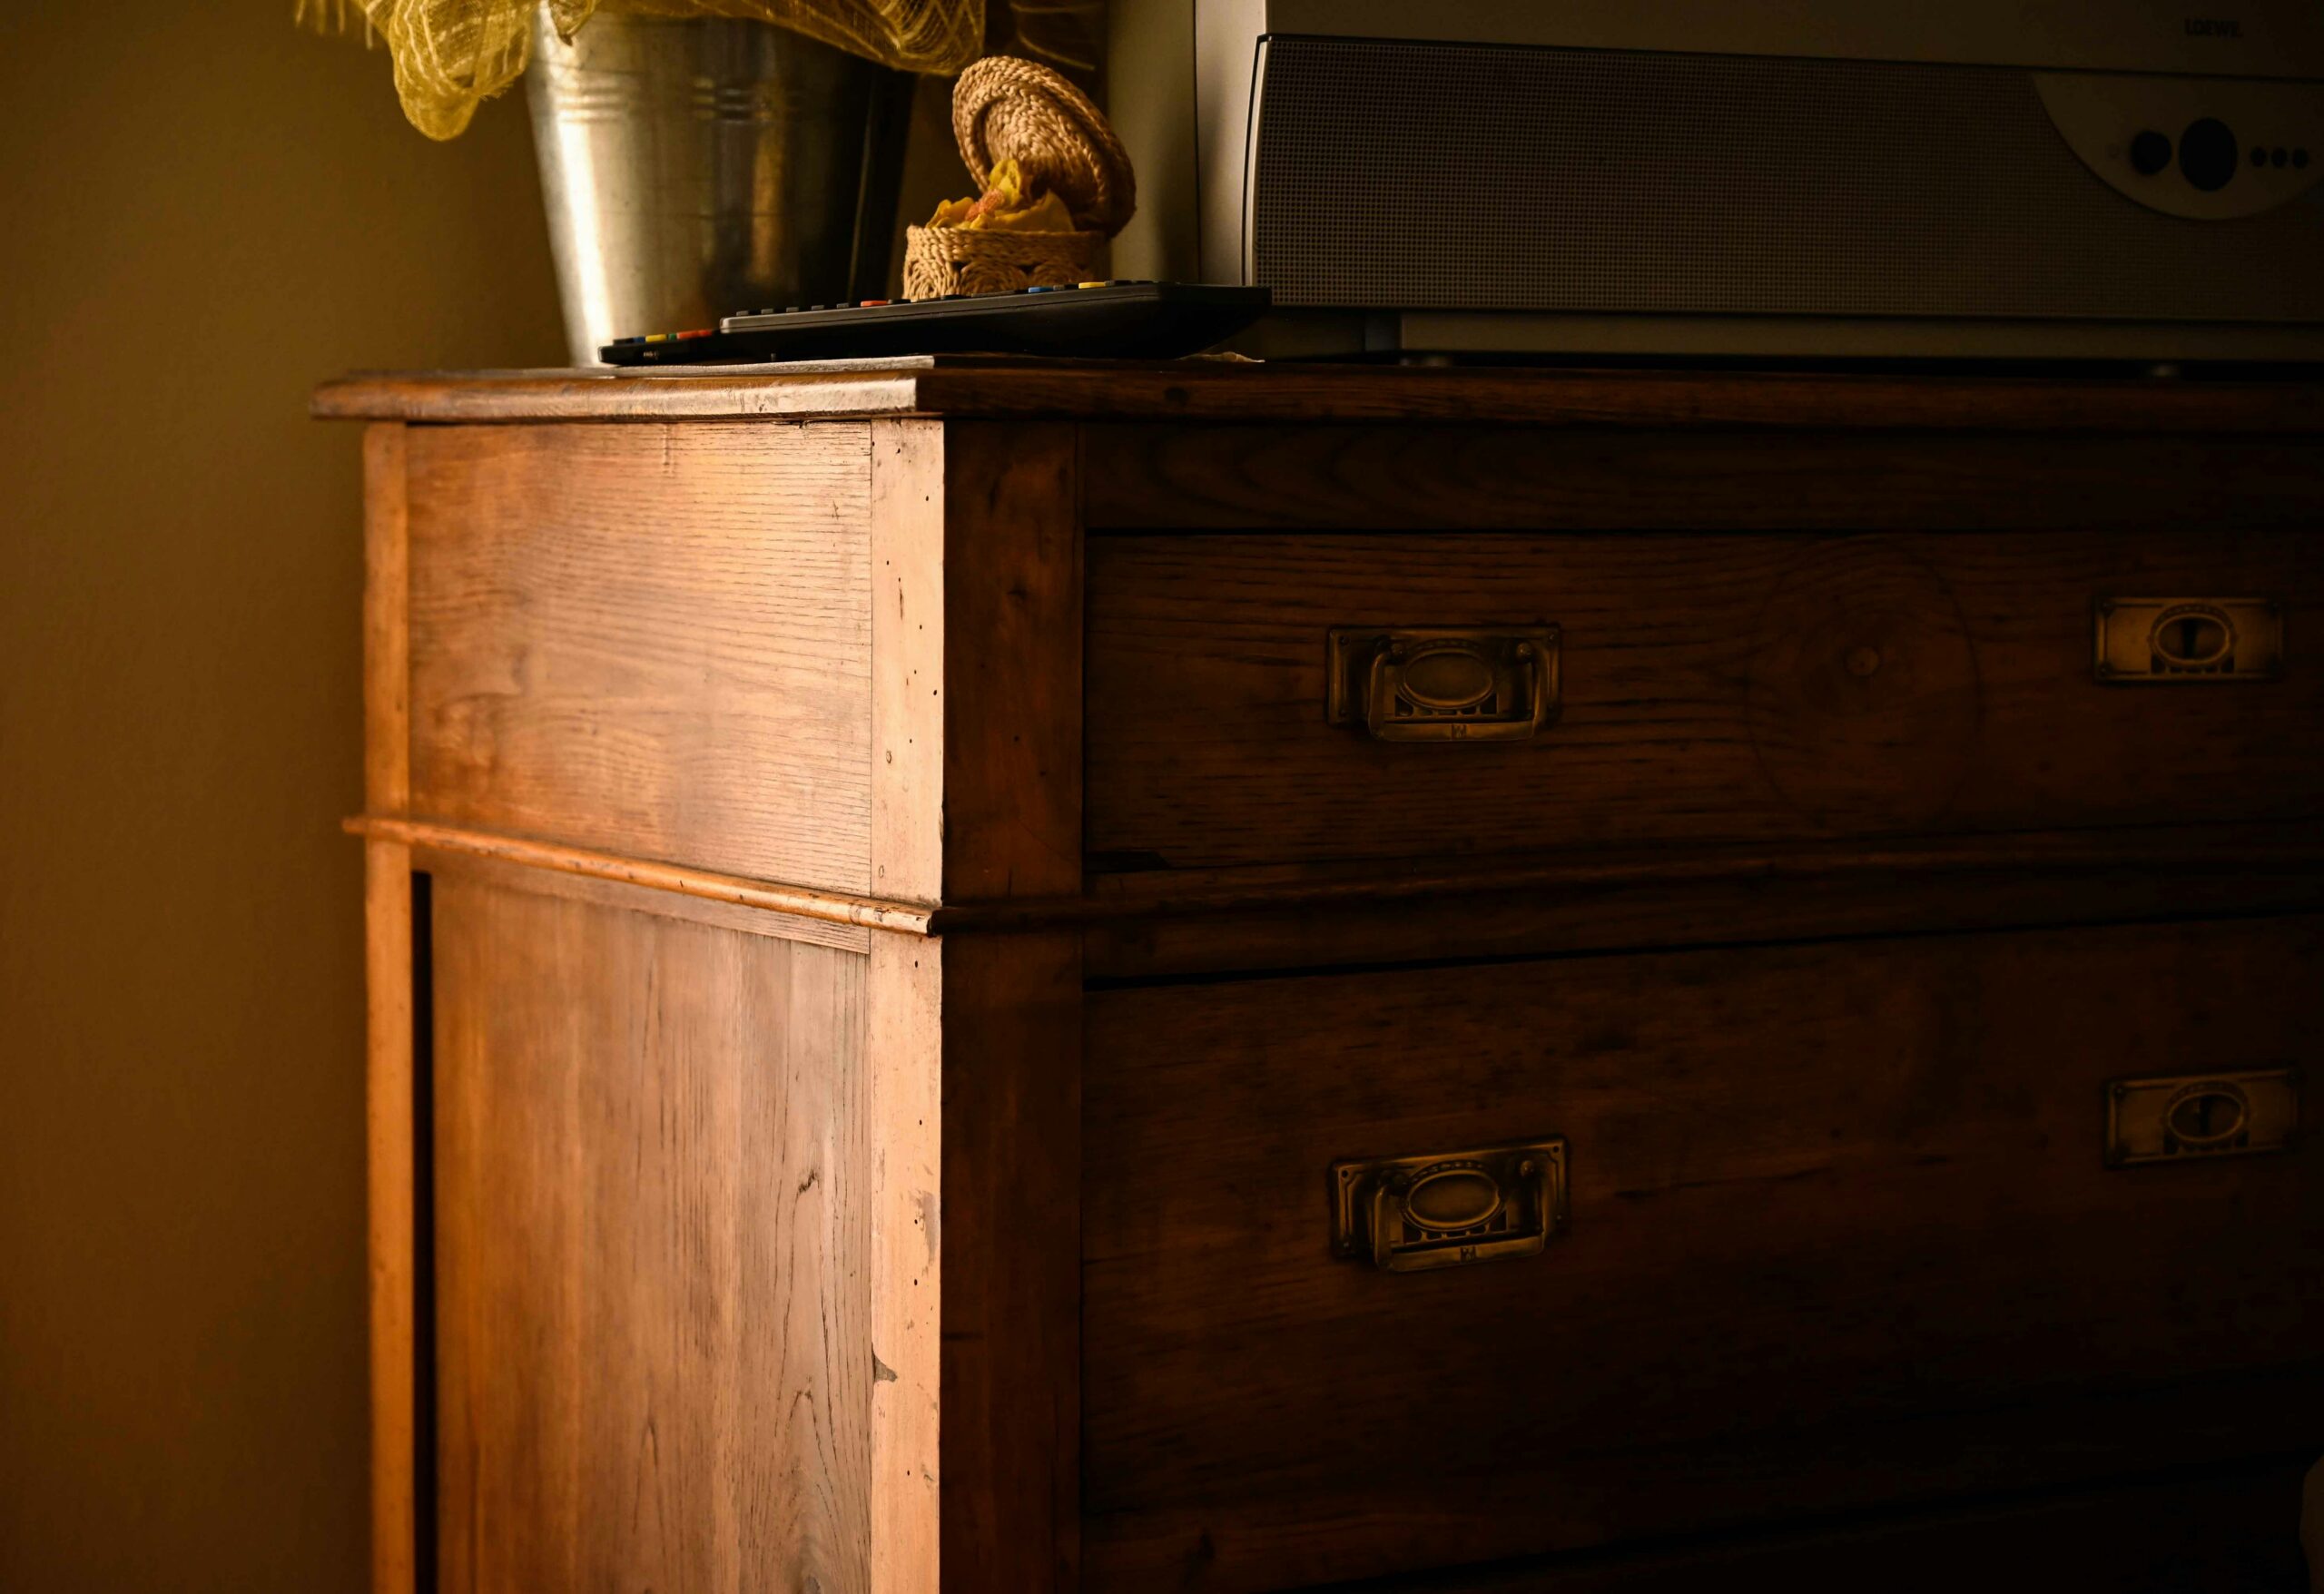
Before you do anything, evaluate the piece carefully. What is it made of — solid wood, veneer, MDF? What’s the existing finish — paint, varnish, wax? Are there structural issues like loose joints, broken parts, or damage? Tap joints to check for looseness, inspect for moisture damage, and look underneath for maker’s marks that might tell you the piece’s age and origin. Understanding what you’re working with determines every step that follows.
Cleaning and Stripping the Old Finish
Most restoration projects start with removing the old finish. For painted pieces, a chemical paint stripper applied generously and left to bubble before scraping off is usually the fastest approach. For varnished or lacquered pieces, chemical stripper also works, or you can sand back to bare wood if the varnish is thin. Wear chemical-resistant gloves and work outdoors or in a well-ventilated space — strippers are powerful chemicals.
Repairing Structural Issues
Loose joints are the most common structural problem in old furniture. The traditional fix is to carefully disassemble the joint with a rubber mallet, clean out the old dried glue with a chisel and sandpaper, apply fresh wood glue, and clamp firmly for 24 hours. Small dents and gouges can often be raised with steam — hold a damp cloth over the dent and apply a hot clothes iron — or filled with wood filler for a flat, seamless result.
Sanding and Surface Preparation
After structural repairs are complete and fully cured, sand the piece progressively — starting with 80 grit to remove any remaining old finish and level the surface, then working through 120, 150, and finishing at 180 or 220 grit for a smooth, even surface ready for finishing. Always sand with the grain. Keep sanding blocks flat to avoid rounding over sharp edges and corners.
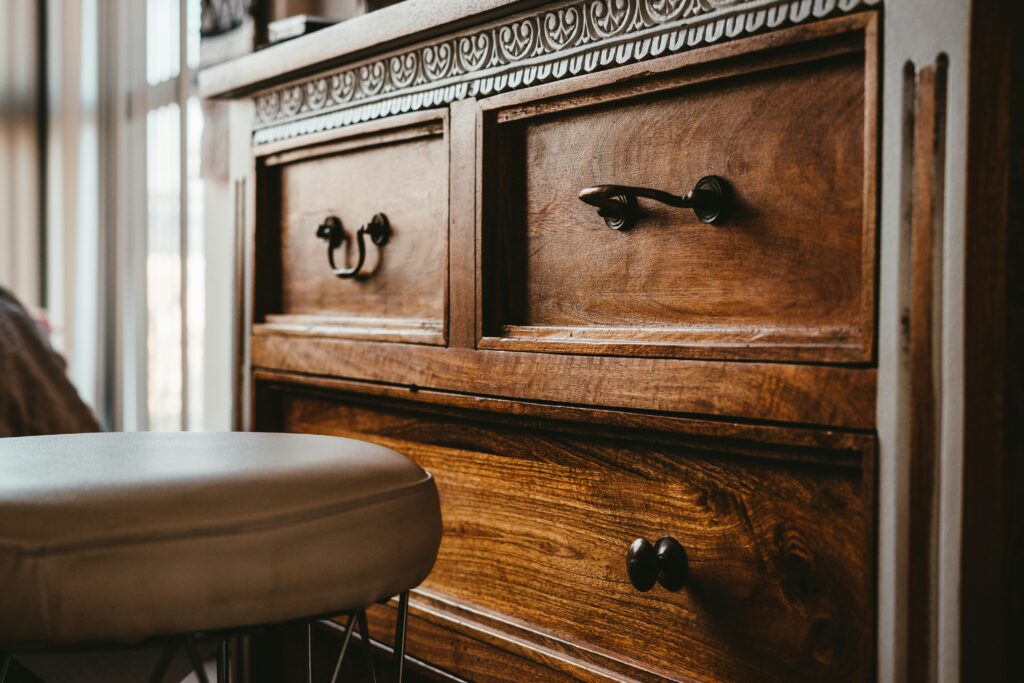
Applying the New Finish
Now comes the transformation. Choose a finish that suits the piece — wax or Danish oil for a natural, traditional look; polyurethane for maximum durability; chalk paint for a painted period look. Apply in thin, even coats, sanding lightly between each coat with 320-grit paper. Three coats of a quality finish will protect the piece for years and make the grain glow with renewed life.
Furniture restoration rewards patience and attention to detail. Don’t rush the stripping, don’t skip the sanding, and don’t apply thick coats of finish. Each step builds on the last, and the result — a beautiful piece saved from the trash — is one of the most satisfying things you’ll ever create.